Balayage Highlights
Balayage is a French word that means “To brush” or “To Paint” meaning that the dye is freehanded on the hair leading to having a better gradient which will allow you to have a more natural looking hair as there will not be any obvious re-growth or harsh lines.
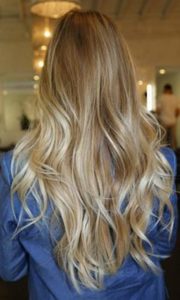
Balayage will give you a sun-kissed and natural looking hair color, just like what nature gave us when we were children.
Of course it’s not only about having that “kissed by the sun”, balayage can also be a little wild. If you mix mermaid colors, galaxy palette or silver granny hair with this technique, you get a rich look that will look amazing on all hair textures and base colors, as the balayage highlights are never harsh.
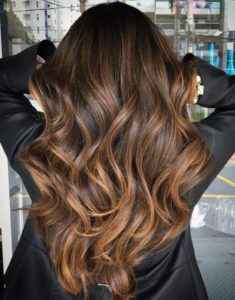
If you want to refresh your look or mix-up your hair color but you don’t want to go for an all over the place make over, balayage is the perfect method for you.
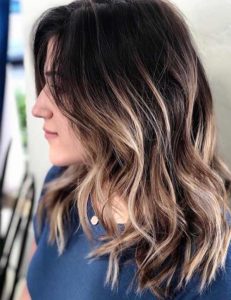
Balayage vs Highlights
While highlights are small sections of hair lighter than the base color (usually your natural hair color) and most of them are done with foil and bleach, Balayage highlight technique is freehanded and uses no foil.
Balayage will allow you to have a more natural looking hair and there will be no chances of having a stripy look as we can see in some badly done highlights.
Balayage imitates the parts that your hair would naturally lighten in the sun and gives you that beachy look that has been so much in the fashion world for the last years.
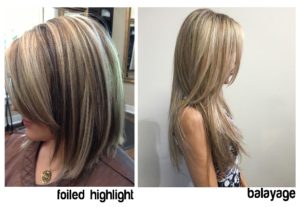
Balayage highlights in natural hair color
Of course! Just like highlights, balayage highlights adapts to your hair color, using a color that is lighter than your natural hair to make it look natural! You can apply it on you naturally (or not!) blonde, black, brown or red hair without any problem! The trick here is, no matter what your base color is, apply a hair dye product that’s lighter so you can have the best results.
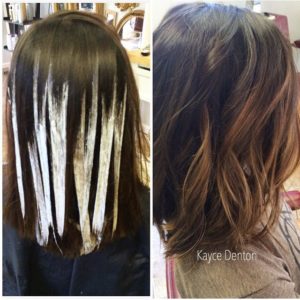
Remember that applying a lighter shade is always an option but you can also apply an even lighter shade, bleach or even a colorful shade!
Balayage highlights curly hair
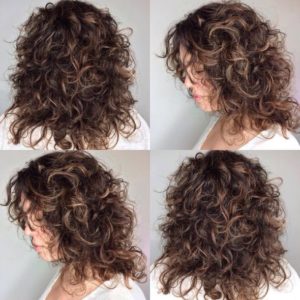
Either because you have your hair naturally curly or not, Balayage Highlights are a great choice!
It works on all hair textures, and we could even say that it’s easier to apply to curly hair because you can decide which curls you want to apply color and pick them out individually.
But this does not mean that if you have straight hair balayage will not look good, what we are saying is that curly hair can make the process a little bit easier.
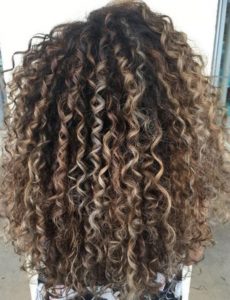
So yes! Balayage highlights will do wonders in all types of hair no matter what colors or texture your hair is you will have a good looking hair by the end of the day with this technique.
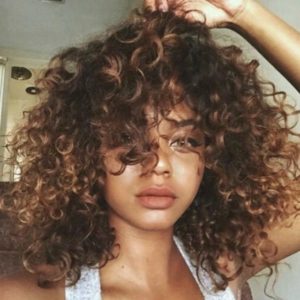
Can I go from foil highlights to balayage?
Yes, you definitely can go from foil highlights to balayage highlights, but it will not be an overnight change, it will take some time; first you will have to live with hair growth lines for at least 8 to 10 weeks as that is the regular hair growth time the necessary to have enough space to work on becoming the foils to balayage.
The best way to a seamless blend is to mix both highlight and lowlight techniques and once you have enough space to work, the trick is to mix these two methods working each of them onto the other (Remember that lowlights are the opposite from highlights: instead of shades that are lighter than your hair you will be looking for shades that are darker than your hair), creating the perfect gradient effect.
The end result should be a natural looking hair as if you had applied balayage from the beginning.
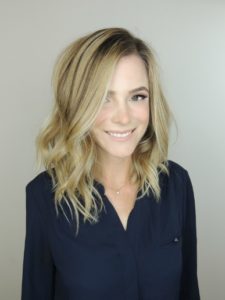
What’s the ideal length of hair for balayage highlights?
There is no such thing as an ideal length of hair to have balayage highlights, they can be applied in any hair length that you can think about. It doesn’t matter if you have super long, super short hair, or something in the middle, balayage will always look amazing if they are done the correct way.
The most common question is “Won’t there be too little space to work if I have short hair?” and the answer is no, you will have just enough space to work some perfect balayage highlights.
What’s the best shade of Balayage for me?
You have to keep in mind that the hair color you choose is not going to affect your hair by itself, you also have to take in account that the hair frames your face.
Taking this in mind you should pick a color that fits well with your skin color. In the end the most important thing is that you feel happy with the color you pick for your balayage highlights.
As we have said plenty of times before, if you’re going for a natural look on your hair with the balayage highlights you just have to pick a shade that’s a few shades lighter than your base color, for example: if you have black hair you can pick a dark brown color, or if you have light brown hair caramel balayage highlights would work amazingly!
Fantasy colored balayage highlights
Yes, definitely. The thing that matter the most is that you have fun, don’t follow the rules.
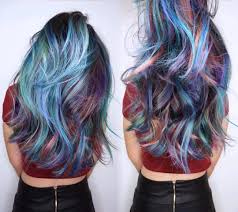
Want some pink balayage? Go for it! What about some silver ones? Rock them out! Blue, green, purple, orange. The sky is the limit! Although don’t limit yourself, balayage highlights don’t have to be only one color, you can mix them and have multicolored hair.
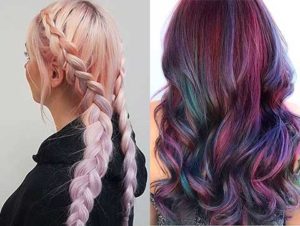
You don’t even have to have a natural hair color as a base, you can have blue hair with light blue balayage highlights, or bright pink hair with some pastel on the tips, maybe you can mix it up a little more and have deep purple hair with green highlights.
The most important part is that you have fun during and after the process.
How much do balayage highlights cost?
The cost of balayage highlights can vary depending on what type of balayage did you decide on applying to your hair, if you want to partially (just the tips or half of your hair) dye your hair it can cost from 65 to 75 dollars, if it is a full-head it can move up to 100 dollars, and f the balayage you want is an ombré effect then it could go way up to 130 or even 150 dollars.
All of these prices can vary depending on the salon, area and difficulty of your change of look.
But, if you don’t want to spend your money on this, you can always do it yourself at home!
You will be risking it though, if you end up doing it at home you need to have in mind that the results could not be as you wanted them to be or it could just simply end up in a complete mess.
If you still want to proceed by doing it yourself knowing all these risks, up here next you will have a step by step guide on how to do balayage highlight by yourself
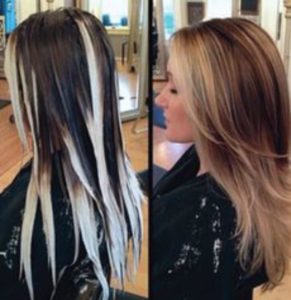
Do you like them? Learn to do these Balayage highlights
Balayage highlights at home
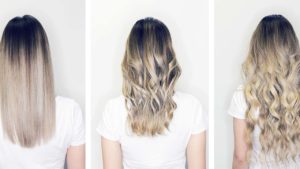
Yes, it will be difficult to do as this technique is painted directly into the hair and the best option is to go to a salon but you could do it imitating the Ombré technique which is created by blending the light ends to the dark root color.
Meaning you will have to apply more dye that it would be needed only with the Balayage highlight technique, the dark (roots) and the light (highlights).
We still recommend for you to look up a salon that can do this for you; so you’ll have even finer and better results!
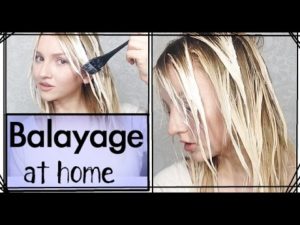
Here are the steps you’ll have to follow to create your own Balayage highlight
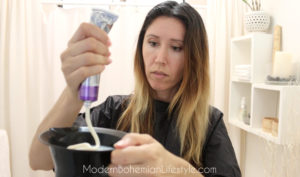
1.Choose your dyes and developers: To get this look you will need to find three separate dyes, a dark shade, a transition shade and a light shade.
The dark one should be two shades lighter than your natural hair and the light dye should be even two shades lighter (hair bleach is also okay for this part).
The developer should be a 20 percent concentration, try avoiding developers from 30 percent to 50 percent concentrations, they are professional developers and can cause a great amount of damage to your hair if you apply it the wrong way.
2.Tie your hair into two messy ponytails: Part your hair down the middle and tie two even ponytails just below your ear and start tugging on the hair above the ponytails to loosen them up, the messier the better.
If you apply the dye to even ponytails, you’ll have a visible and harsh hair line.
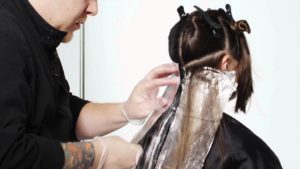
3.Apply the darker shade: Start applying the dark hair dye to the hair that’s below the ponytails, we recommend to apply the dye with the fingers (remember to use gloves!) combing it through your hair so the balayage will have the expected finish; wait for the right amount of time for the dye to make its effect and rinse it.
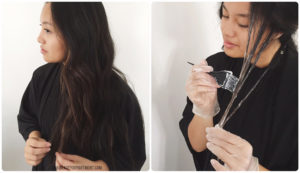
4.Separate your hair into sections: Now we’re going for the fun part, the highlights! The most important part of the Balayage. For this you have to separate your hair into sections.
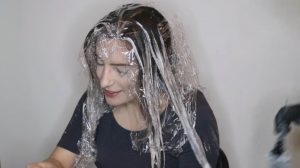
5.Tease and split the hair with your comb: With your comb, start brushing your hair in upward motions to separate your hair and make the transition of your balayage highlight softer and more natural looking, doesn’t worry if this step makes your hair all messy and filled with knots, it’s all part of the process.
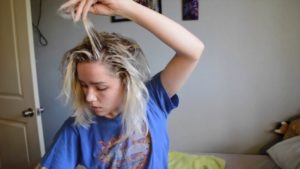
6.Apply the light hair dye: This is the part where we apply the balayage highlight dye, it works better if you just apply the light shade into the bottom third or two thirds of each hair section, below the knots that you created in your hair in the last steps.
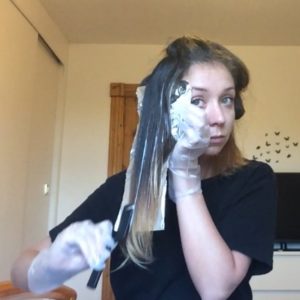
7.Rinse: After you’ve waited the recommended amount of time, rinse off the dye and voilá! You should have Balayage highlights ready to show off.
Remember! Doing this can be funnier and merrier with a friend by your side, another plus on having a friend over is that they can help you with all these steps and you can have better results.
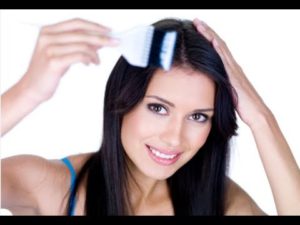
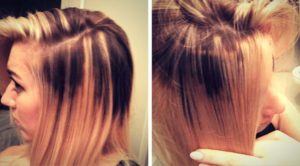
Don’t commit this 3 mistakes! They will ruin your balayage highlights
- Going heavy handed: the most common mistake that you could make when you first attempt for balayage highlights is applying way too much product near the roots. Instead you should try building up the product, starting with little product in the middle of the hair and then working it upwards.
- Coloring before cutting: this one talks by itself, if you apply a perfect balayage and then cut your hair you could end up with a weird looking balayage highlight; instead you should cutting it first (Dry cutting works perfectly) and then doing the balayage.
- Uneven Saturation: Just like a painter, after you have applied the paint, step back and admire and evaluate your work. Is it even? Are there any hard lines? Is it like I thought it would be? If all of this answers are positive, then you should be ready. If not, you can always go back and carefully try to make it all look clean, even and cohesive.
In the end, balayage highlights are perfect for you if you want a change of look but don’t want to go all over the top with a complete make over or to go over the top balayage will work wonders for you.
And even if you do want a big change balayage highlights will be the perfect change of style for you.
If you liked the content of this article we invite you to share it with your family and friends.
You can also let us know any further questions about this article and its content in the comment box down below, we will be happy to reply shortly
¡Por cierto! Antes de que te vayas, queremos recomendarte esto que seguro que te interesa:
- Brown Hair with Highlights
- Dimensional highlights
- Gold highlights
- Bad highlights
- Strawberry blonde highlights
- Red highlights
- Foil Highlights
- Green Highlights
- Dark hair with highlights
Son una serie de contenidos a parte del que has leído que puede ser interesante para tí ¡Muchas gracias por leernos!
